Reverse Geocache

Hello,
This post is part of my ongoing effort to update my website with my previous projects. This one was created in late 2013 as you can see from the pictures below. The above picture is a picture of my reverse geocache I made. The software aspect of this project was quite challenging as was the hardware aspect as well. First off, in order to explain what a reverse geocache is, it must be known what a normal geocache is. A geocache is a box or container ranging from pill bottle size up to five gallon bucket size, it is hidden and the coordinates of its location are posted online at geocaching.com. People then attempt to find it using their GPS and when found, they log their find online. This geocache works the opposite way in that the cache is always with you and the object of game is to bring it to a set of coordinates unknown to the holder. You simply press the button, the GPS then gathers your coordinates, parses the data and outputs you distance to the object. The most efficient way of solving the puzzle is to take three distance measurements and then to use triangulation to determine the final location. In the code (originally by someone else, I kept the GPS data parser and re-programmed the rest in C++ in Eclipse and then sent it to the Arduino) there is a user definable variable to change the valid final location radius. That allows you to set the final location as a park bench or even as an entire city. When the box reaches the final location, it displays “Access Granted” and rotates the servo, retracting a pin holding the box lid shut. There is a secret back door I added in case I needed to open up the box in a pinch, but thats secret and will remain in my brain. Overall this was a challenging project and if I could change something, I would stain the wood a dark brown (I still could…) and I would use a sturdier locking mechanism.
As usual, pictures with explanations are below. Live long and prosper. (Leonard Nimoy, *sniff sniff*)
Ben
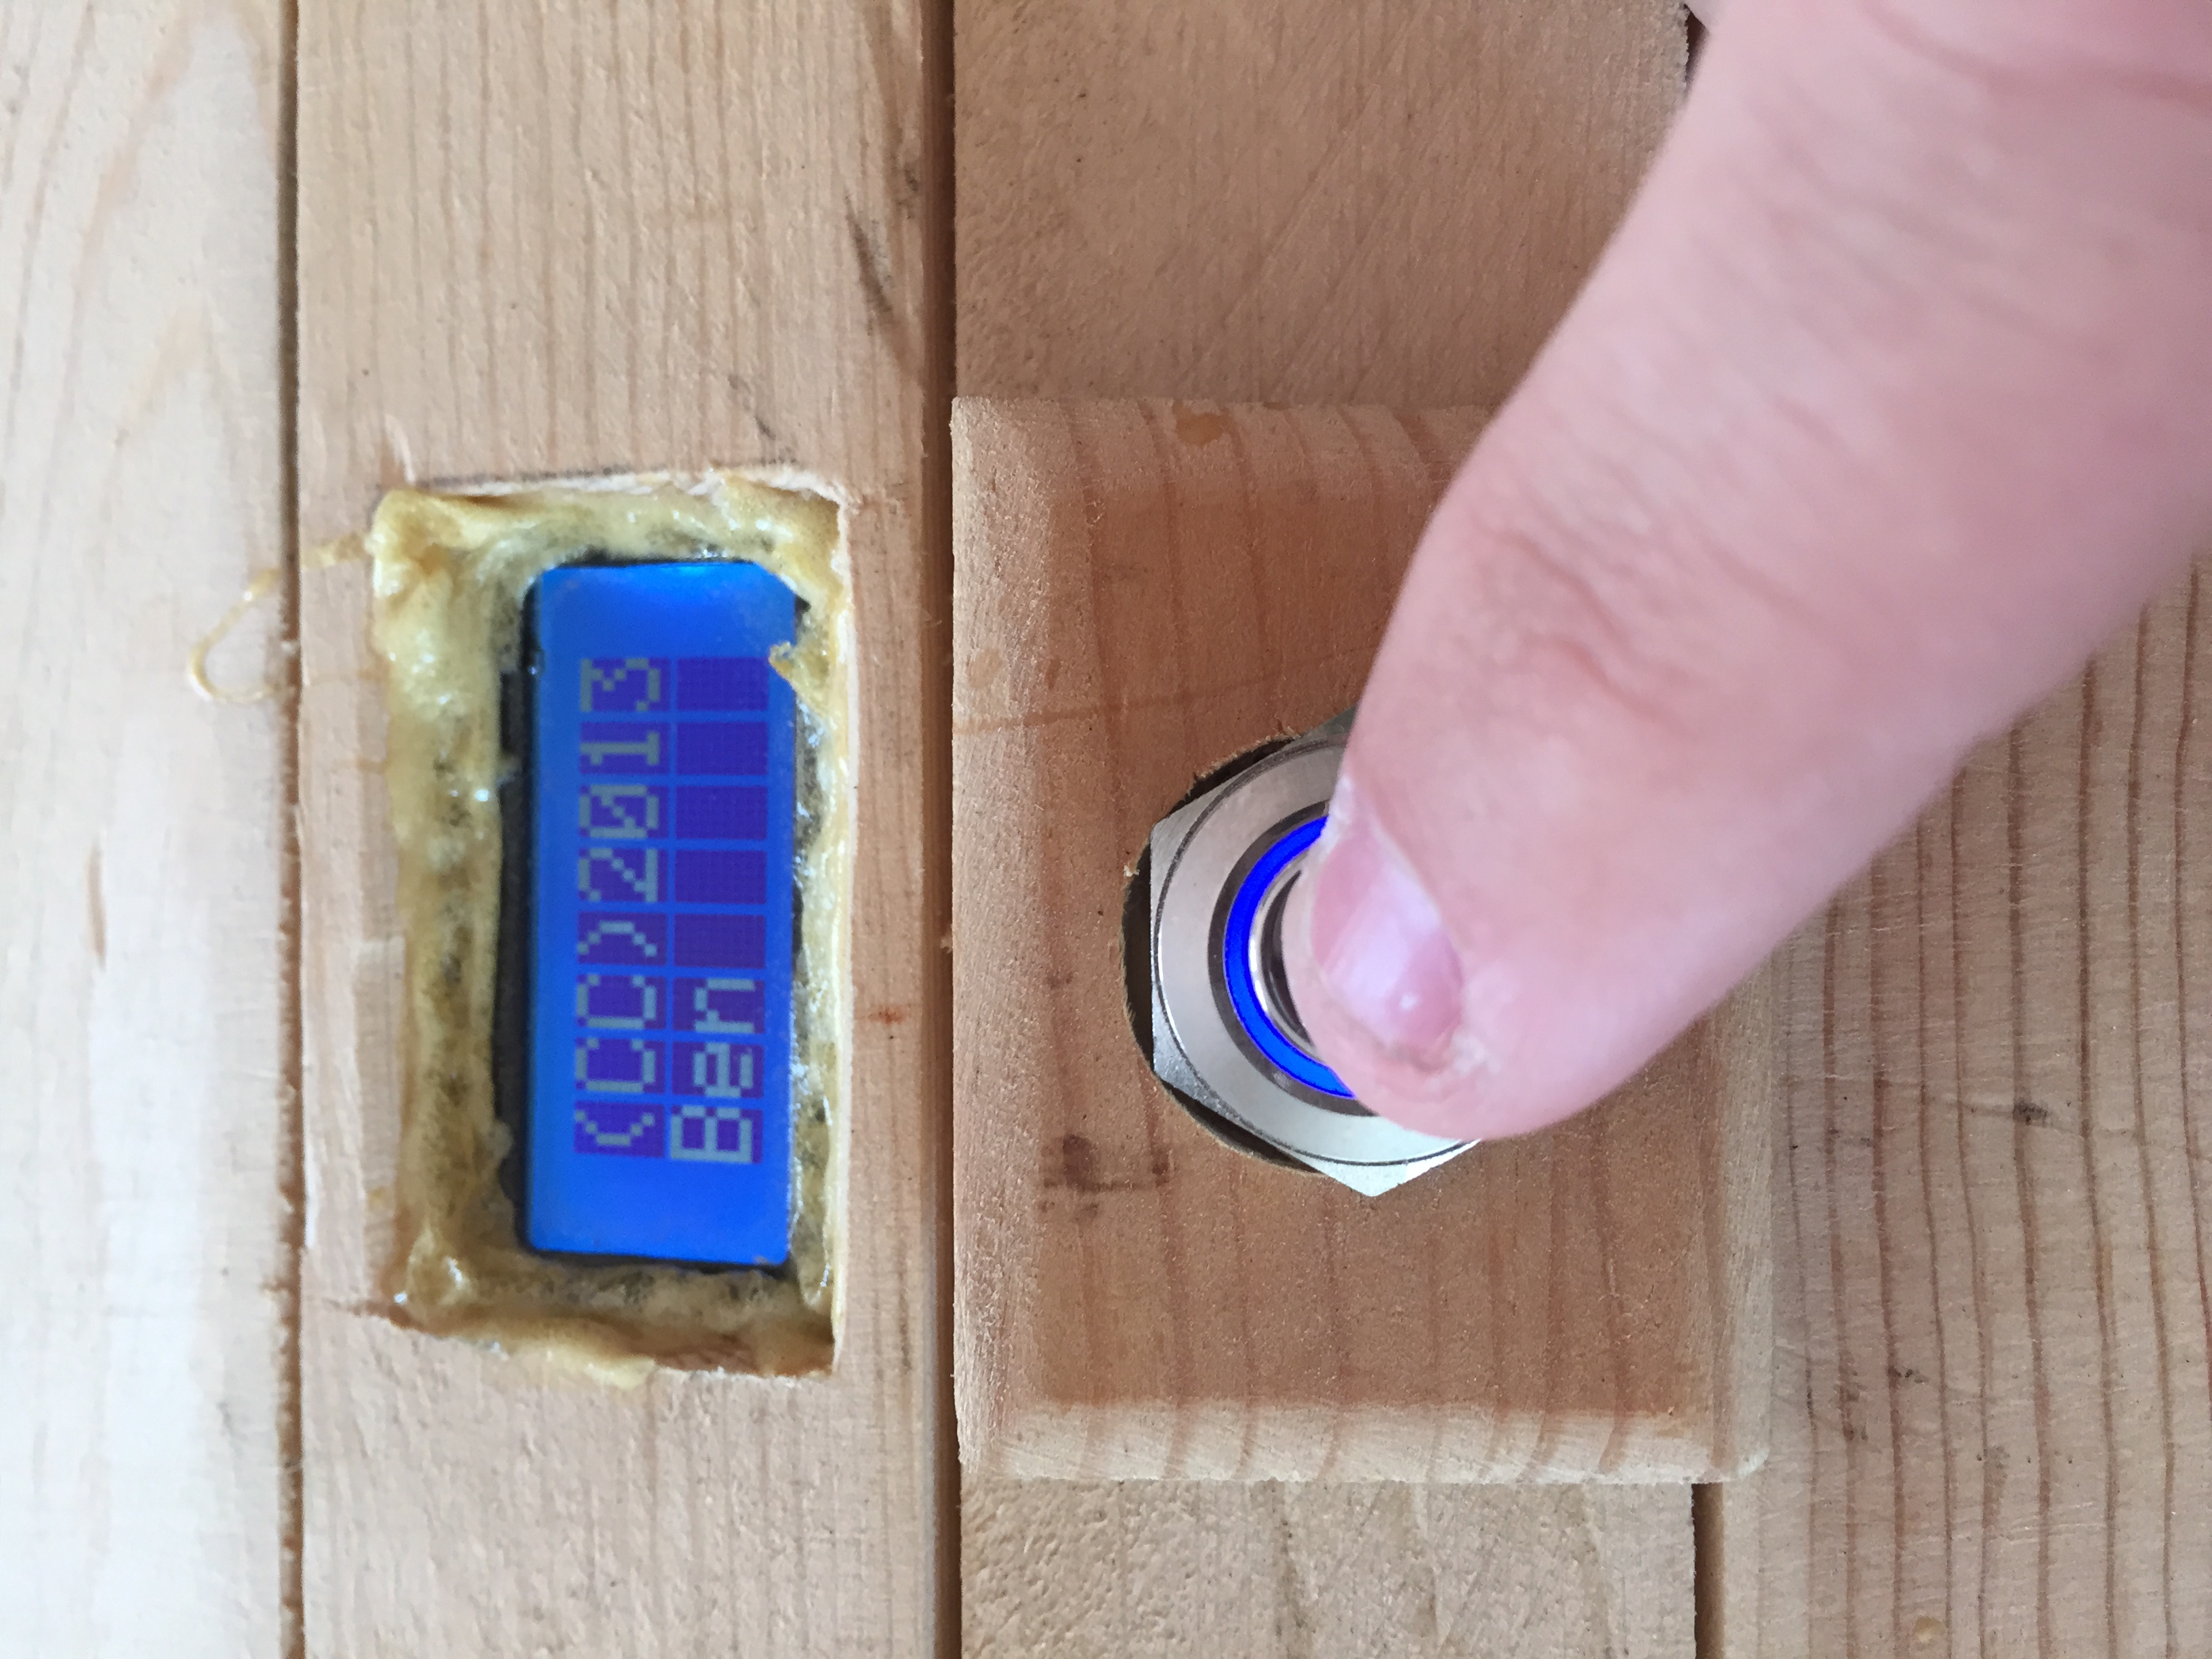
(The welcome message displayed when first hitting the power button.)
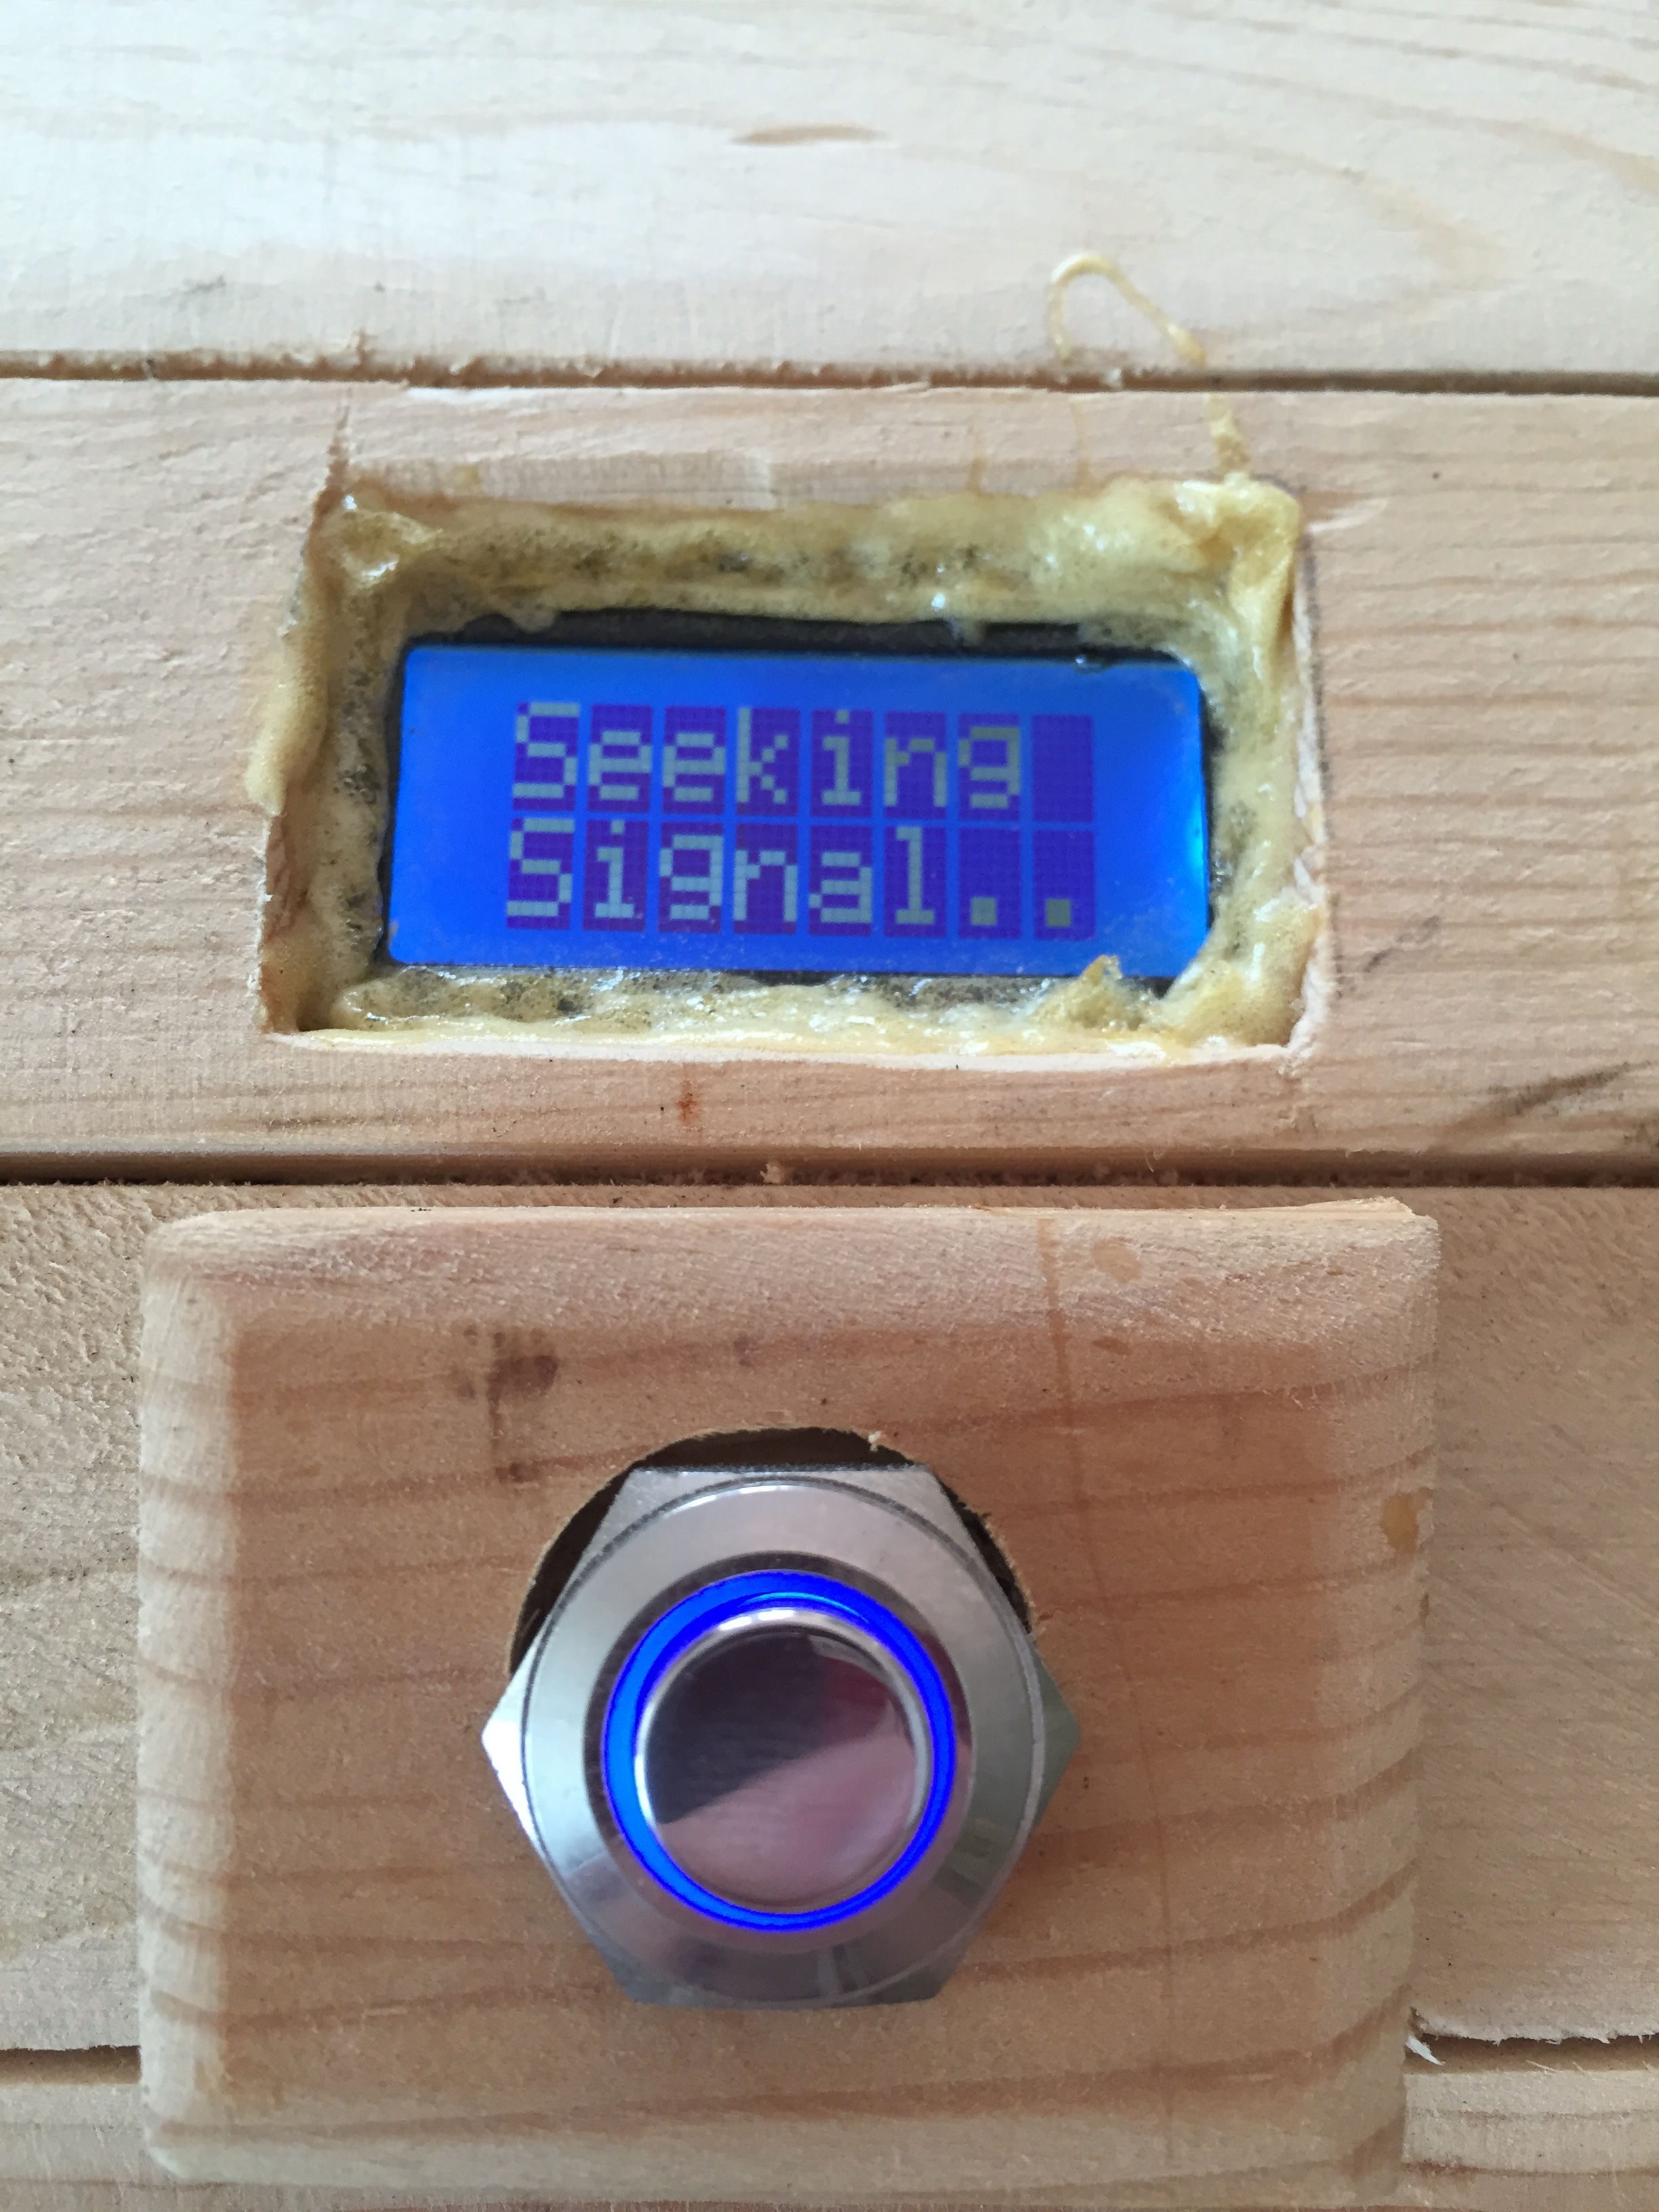
(After displaying the welcome message, the Arduino uses the GPS to look for a signal from the orbiting satellites.)
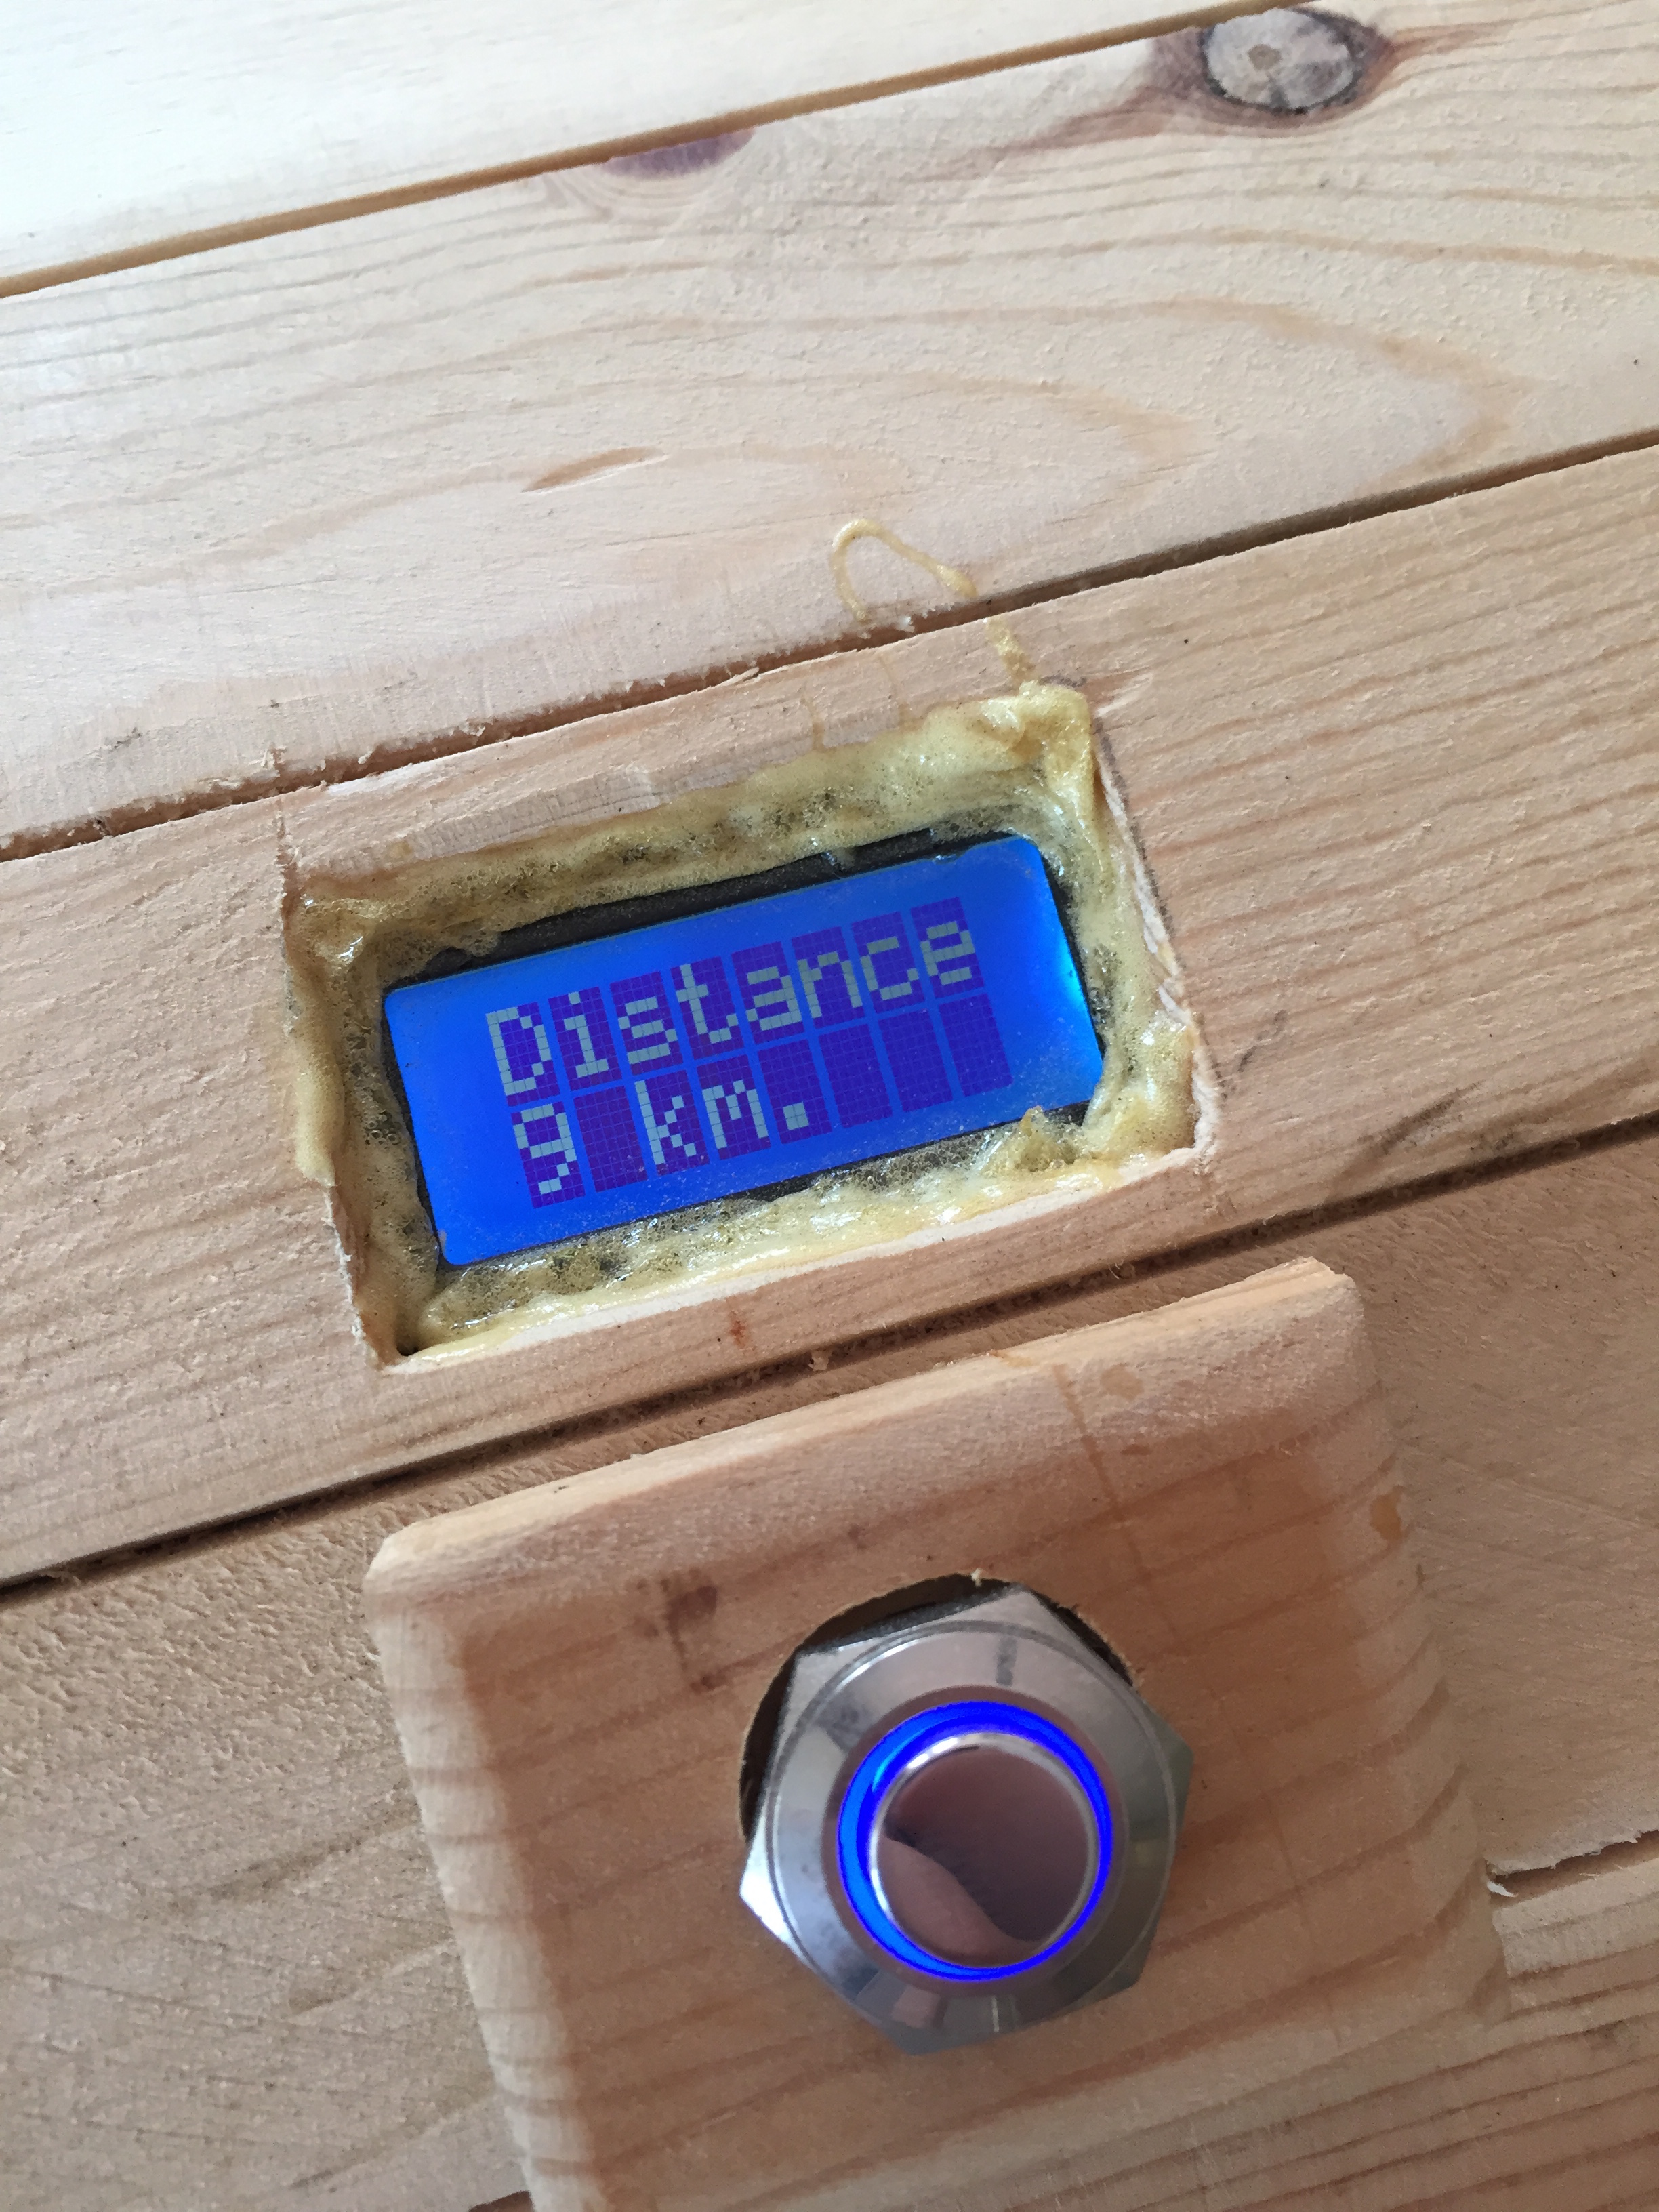
(After acquiring the signal and parsing the data, the Arduino displays the distance from the target. Here we are 9 km away from the target.)
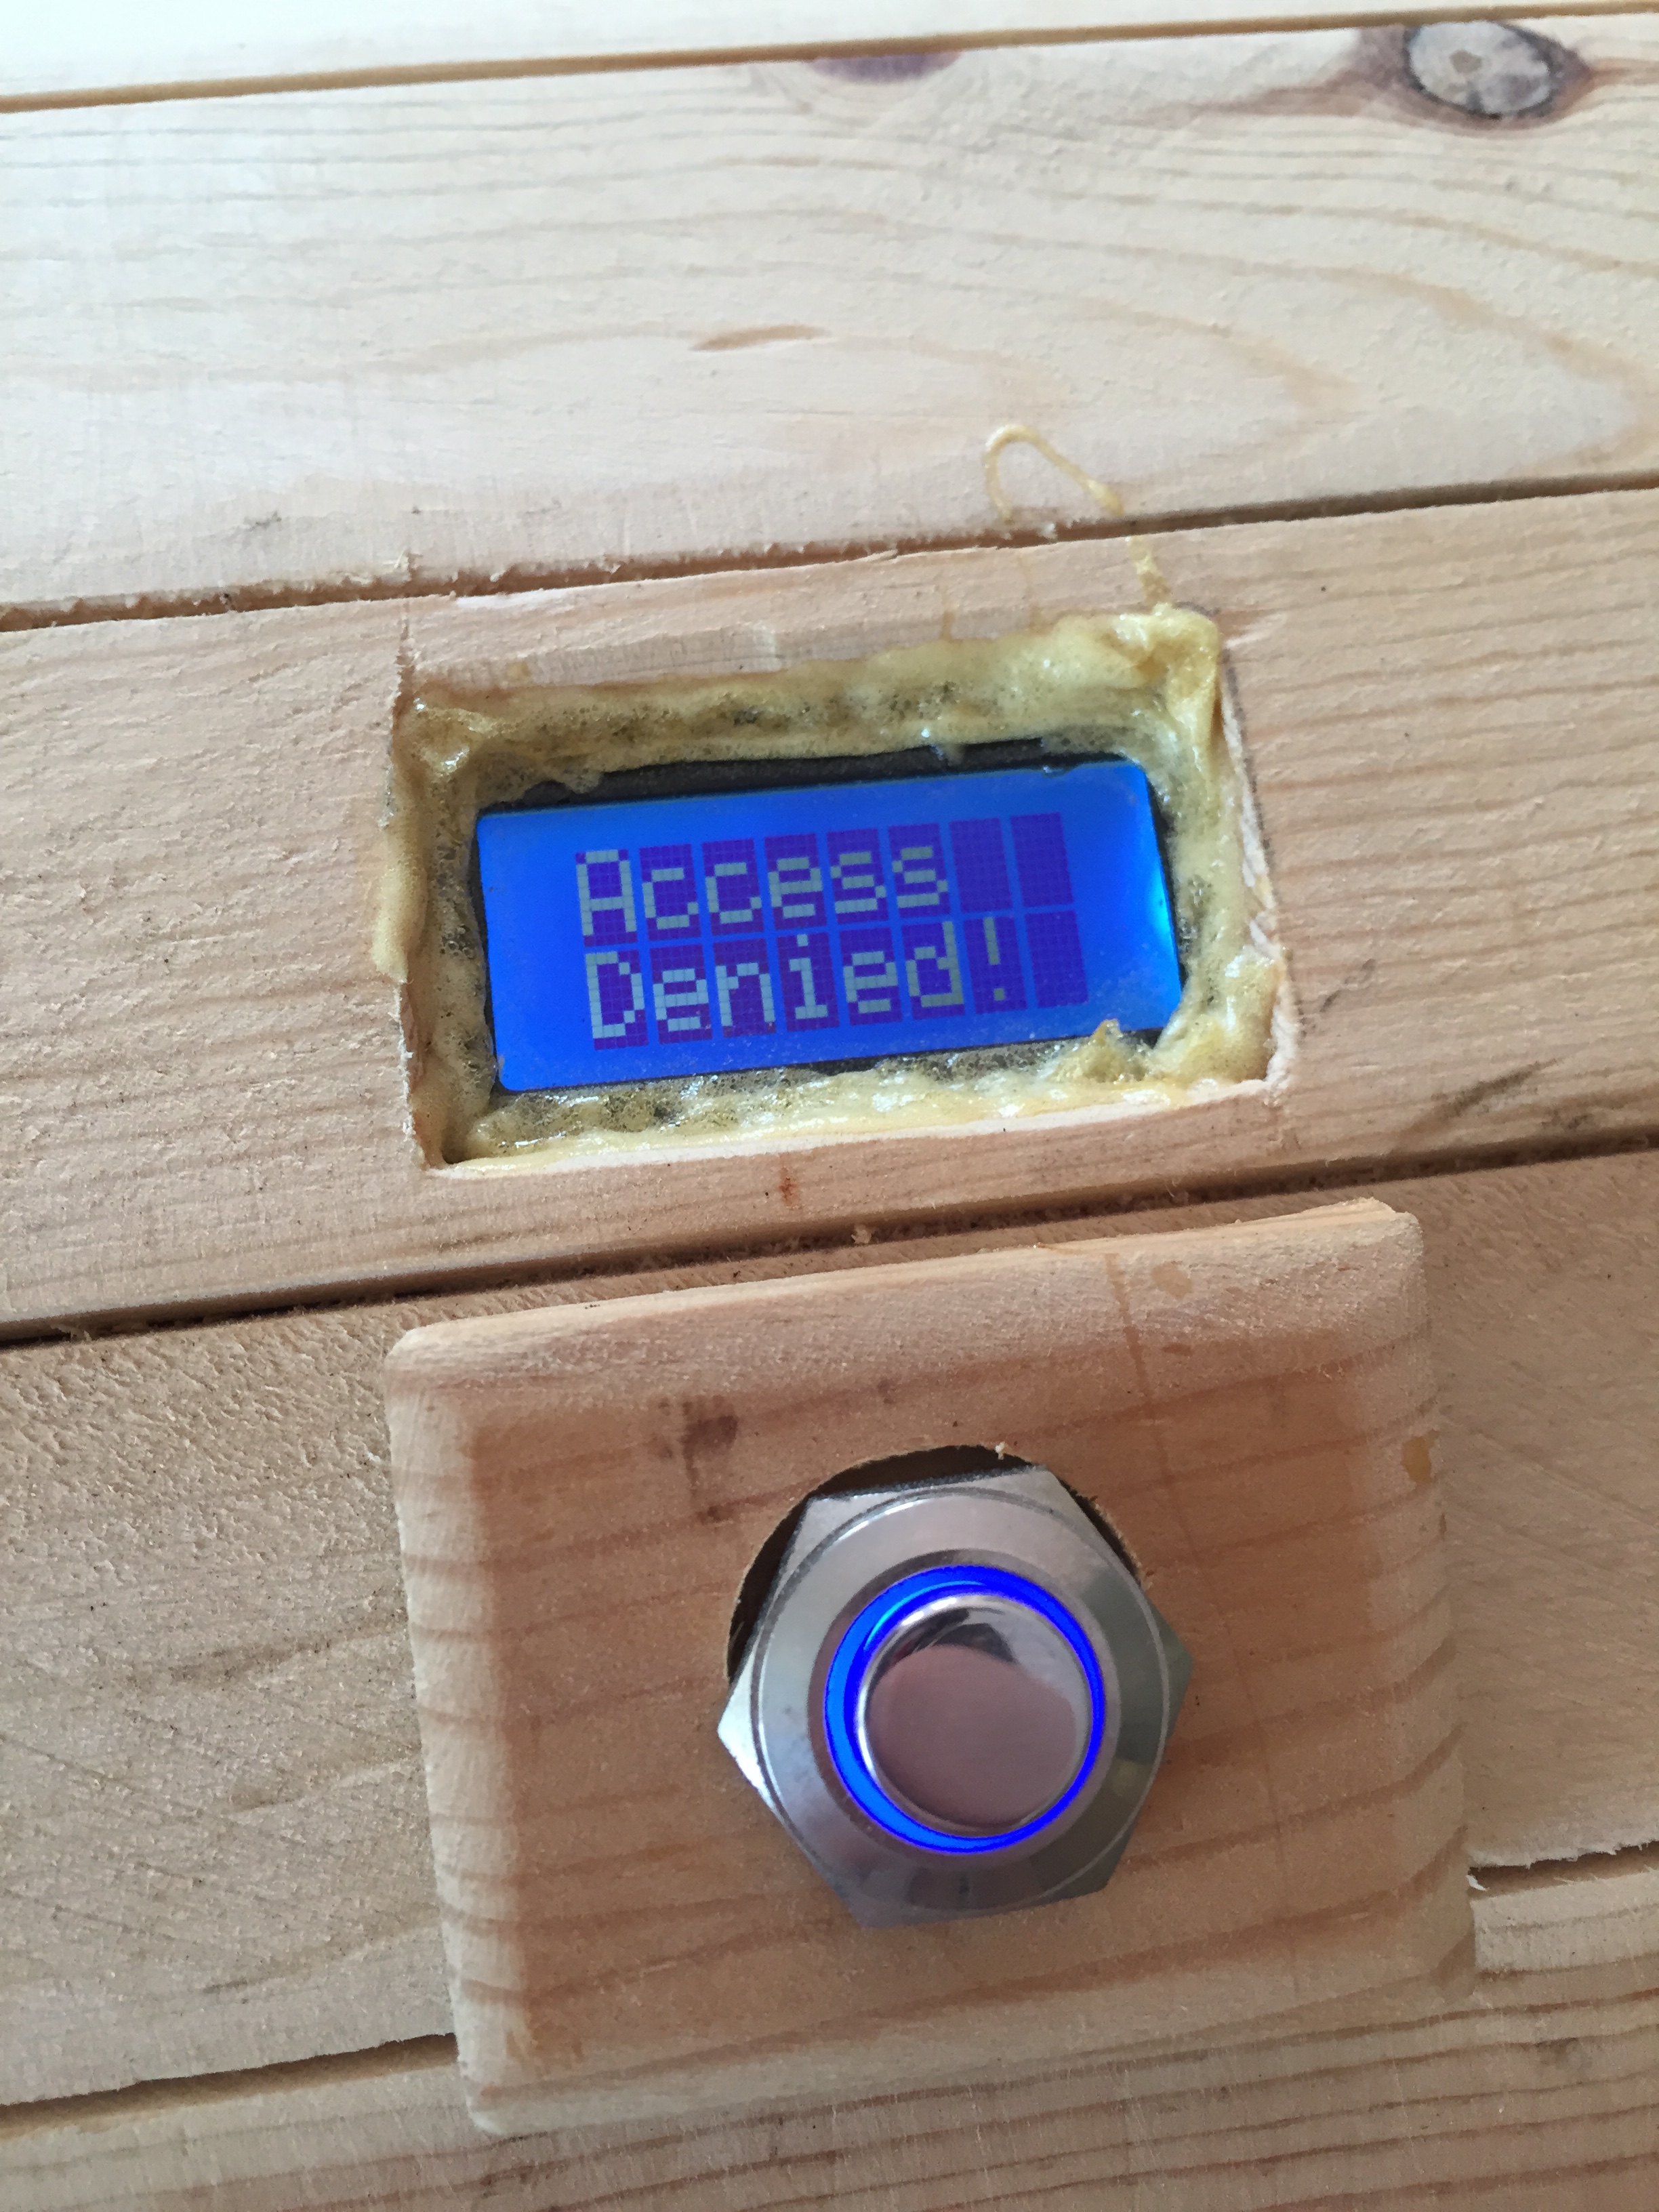
(Since we were 9 km away from the target, the Arduino prints “Access Denied” and doesn’t move the servo.)
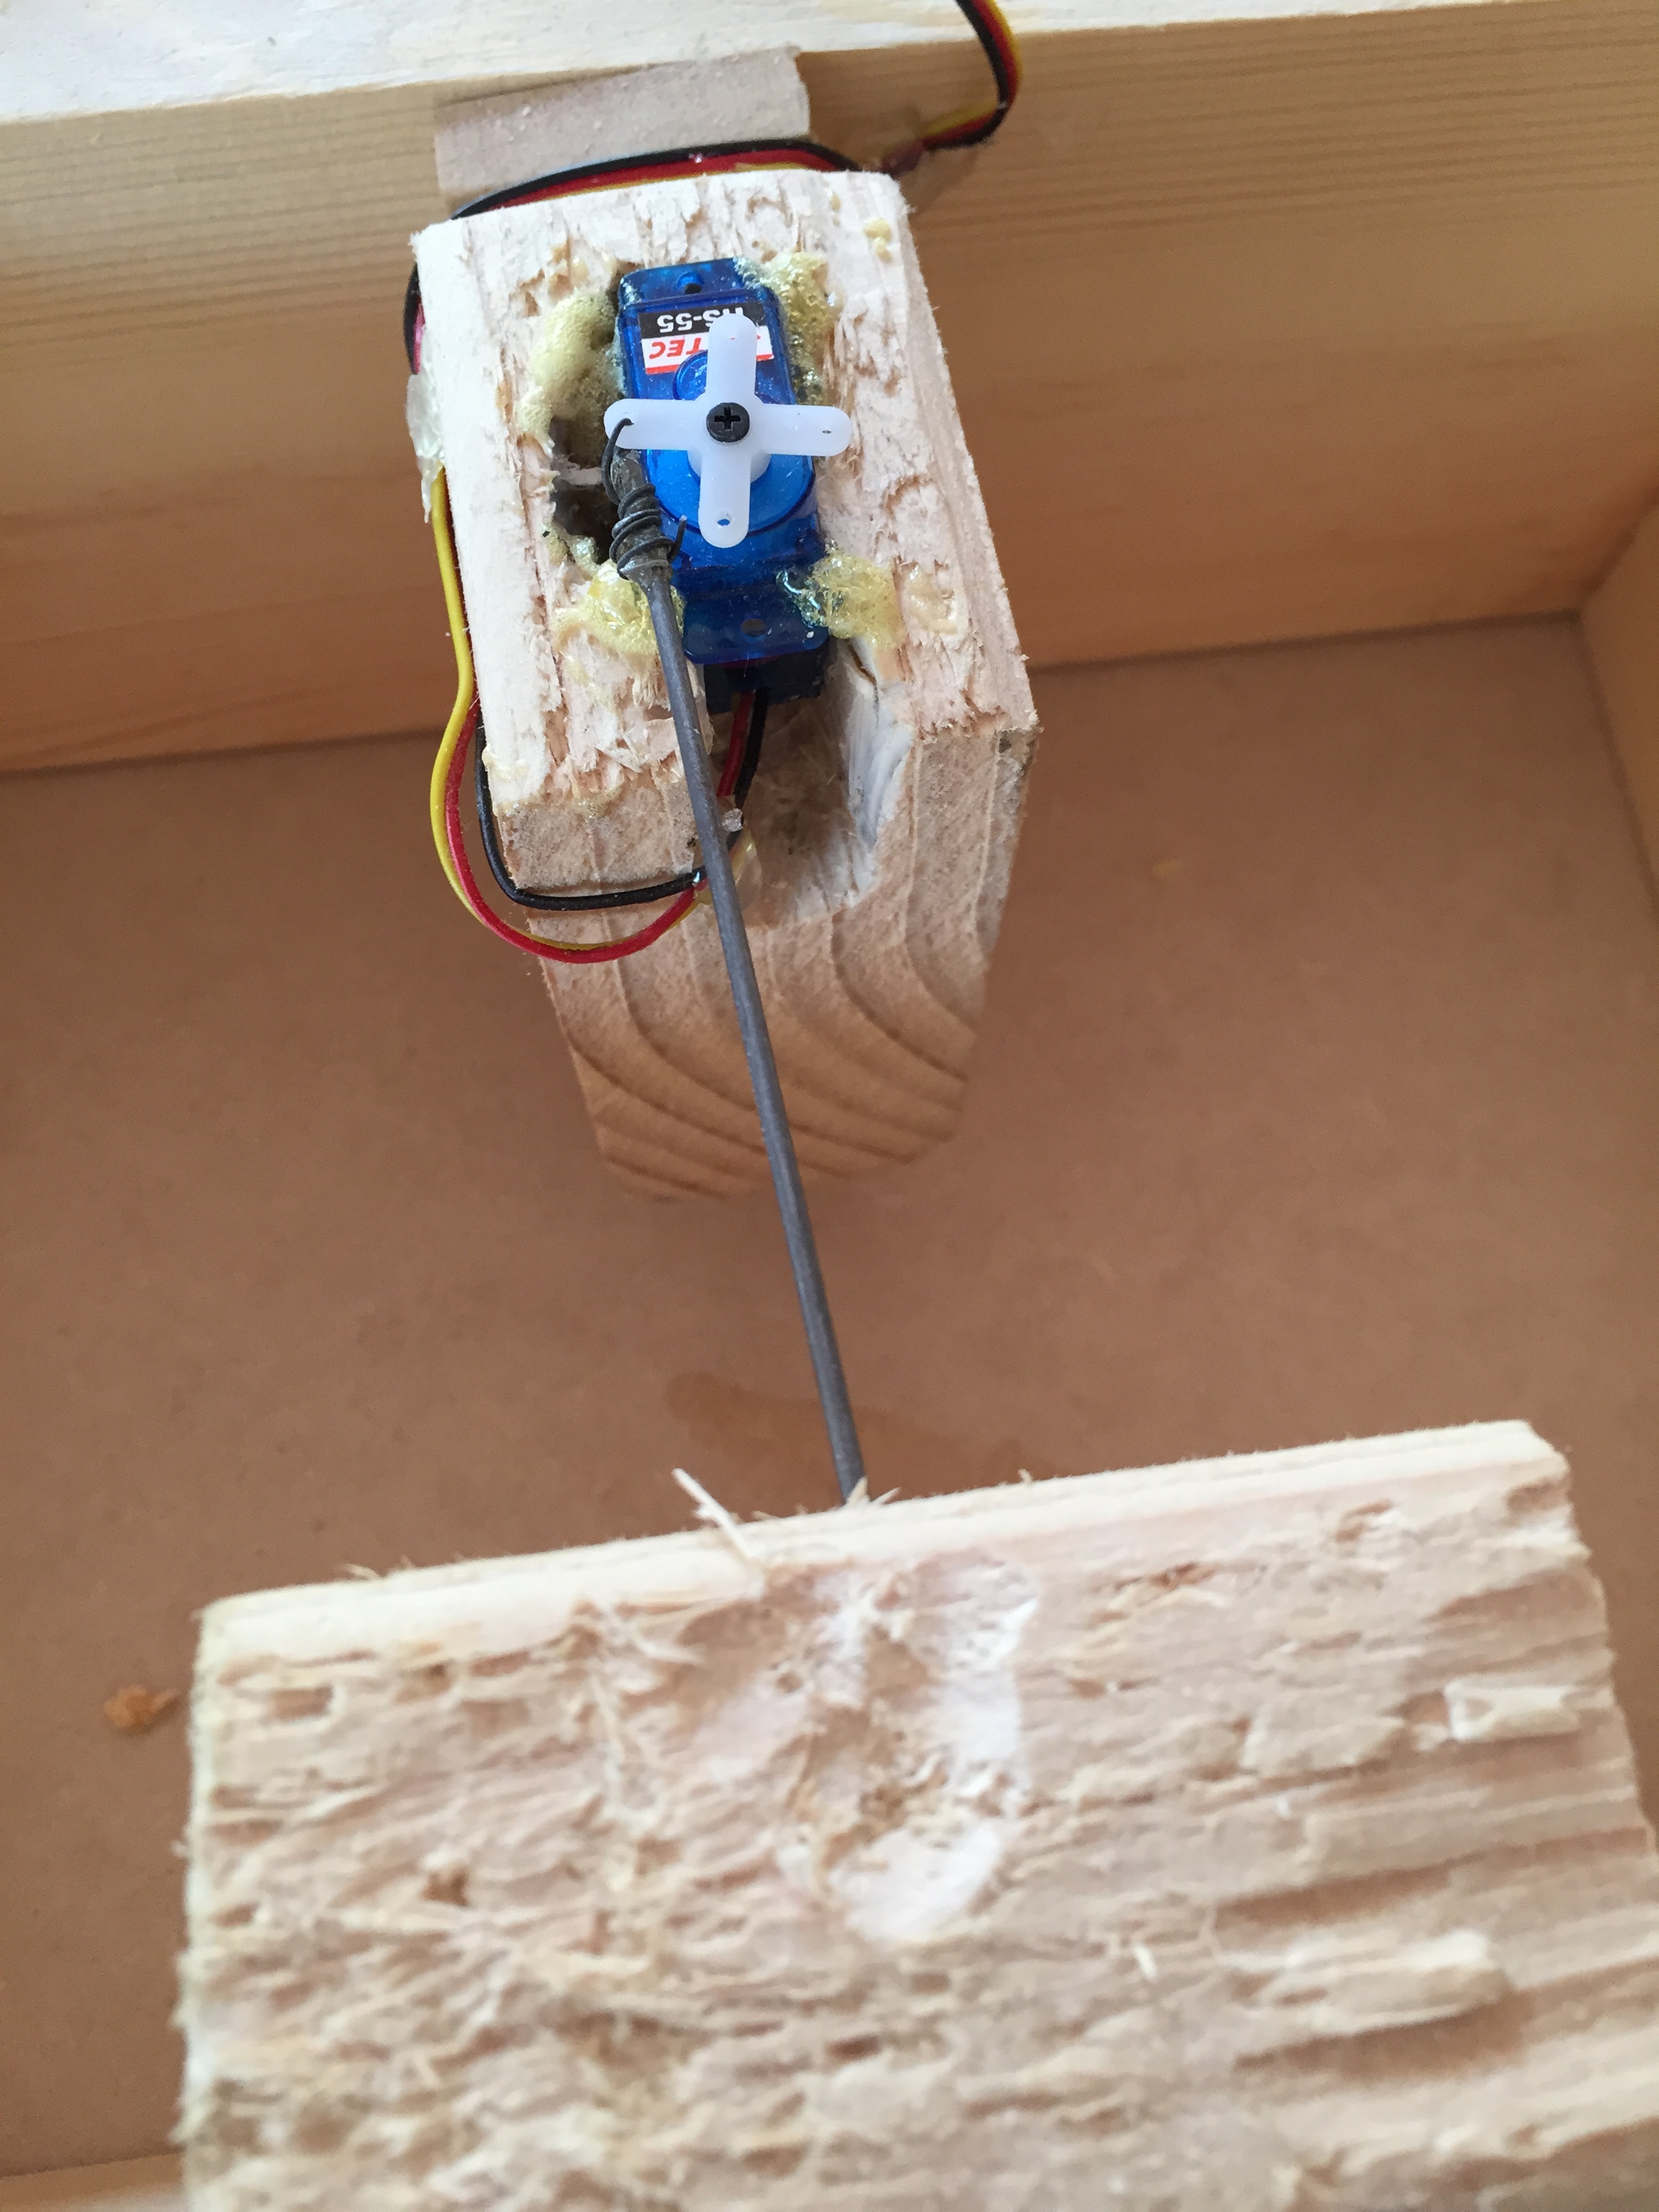
(Here is a closeup of the servo and the pin used to lock the top of the case shut.)
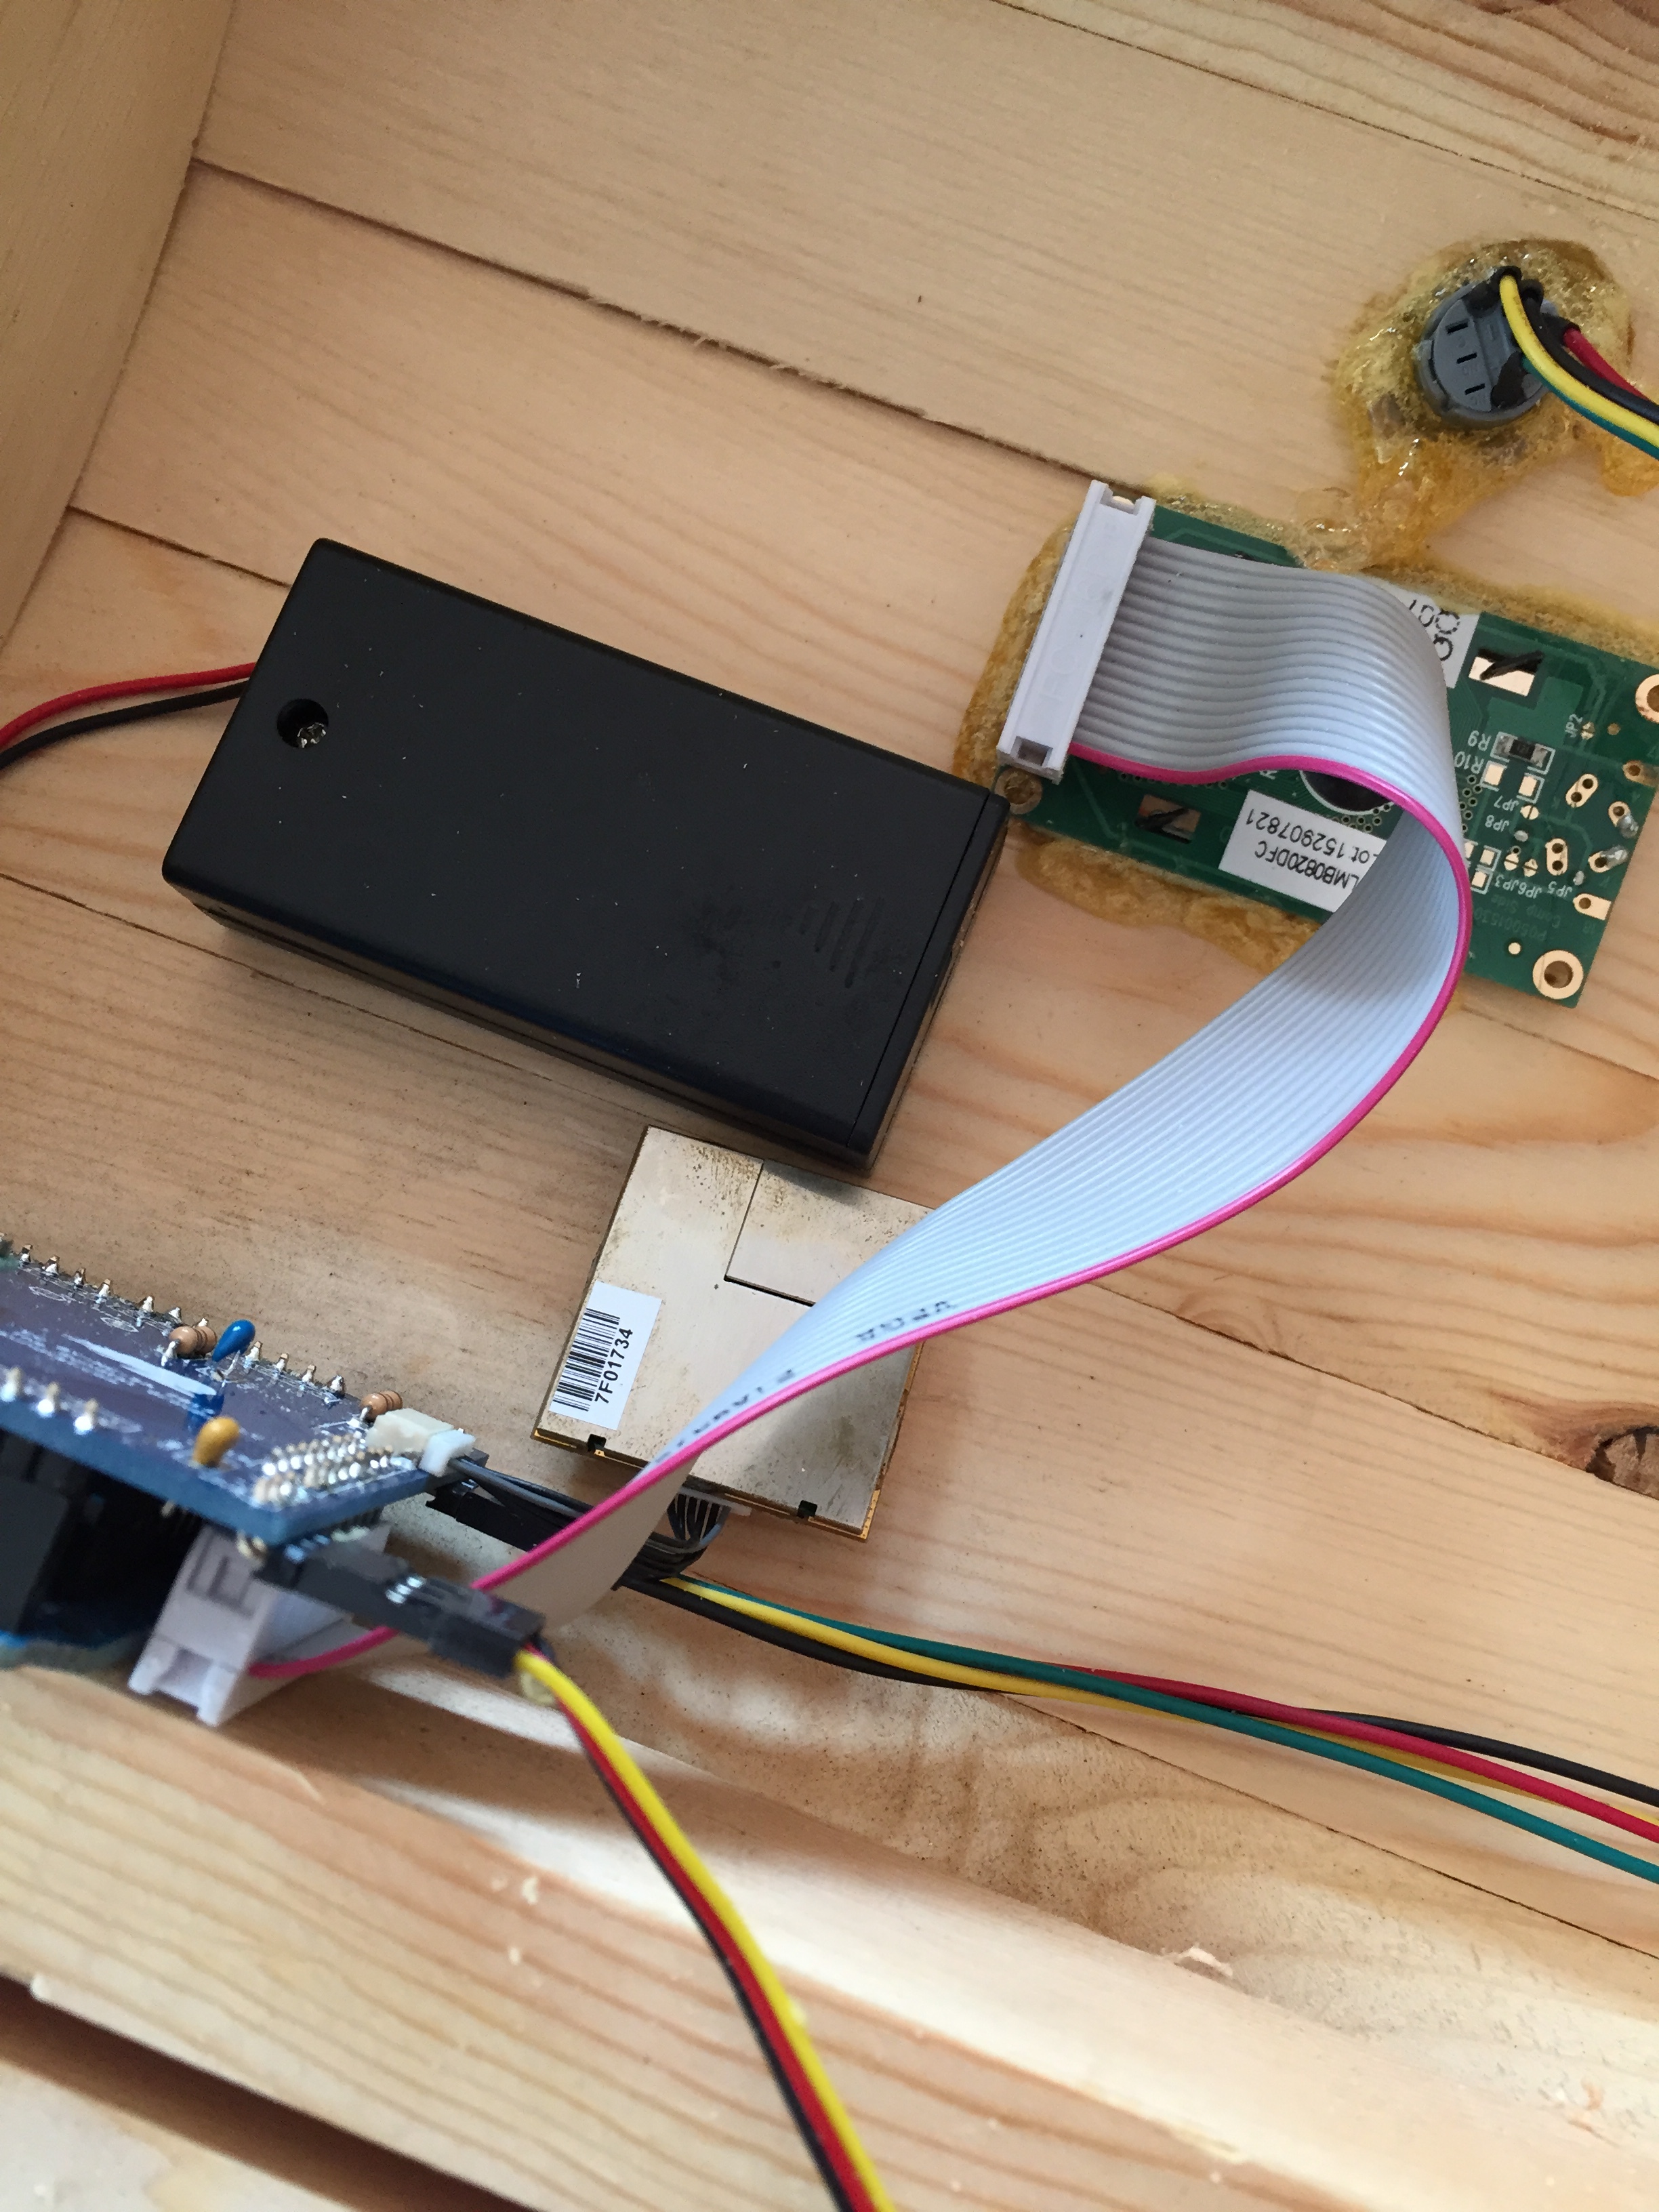
(Here is all the hardware minus the servo. Bottom left blue thing is the Arduino w/ shield, above that and slightly to the left is the GPS module, above that the black rectangle is the battery case and above that the green PCB with the ribbon cable is the 16×2 LCD and above that is the blue backlit button.)